
Why Air Sealing Matters More Than Most Homeowners Realise
Gaps around windows and doors are among the most common - and most underestimated - sources of energy loss in a home. Unlike structural insulation, which degrades slowly over decades, sealants and weatherstripping are consumable materials that crack, compress, and peel within a few years of installation, often without obvious visible signs. The result is a gradual increase in heating and cooling demand that most homeowners attribute to ageing systems rather than the building envelope itself.
Beyond comfort and energy use, unsealed gaps allow moisture-laden air to infiltrate wall cavities. Over time, this can contribute to the same condensation and damp problems covered in our guide on diagnosing moisture problems in the home. Draught-proofing windows and doors is therefore not just a weatherisation task - it's also preventive maintenance against structural and cosmetic damage.
This kind of low-cost, high-impact task belongs firmly on the priority list that home maintenance on a tight budget recommends tackling first. The materials are inexpensive, the tools are basic, and the improvement is immediate and measurable.
Caulk gun and caulk (acrylic or silicone)
Fills static gaps between window or door frames and the surrounding wall.
Foam weatherstripping tape
Compressible seal applied to door and window stops to block gaps when closed.
V-strip (tension seal) weatherstripping
Durable folded plastic or metal strip that fits into sliding channels on double-hung windows.
Door sweep or door shoe
Seals the gap between the door bottom and threshold to block draughts and debris.
Utility knife and putty knife
Removes old, cracked caulk or weatherstripping before new material is applied.
Candle or incense stick
Used to detect air movement at suspected leak points during inspection.
What You'll Need Before You Start
Gather your tools and materials before beginning so you don't lose momentum mid-task. The specific sealant you choose should match the type of joint: caulk is for static gaps between frames and walls, while weatherstripping handles the moving edges of operable doors and windows. For a broader view of how sealing fits into your home's overall thermal performance, see our comparison of insulation types and where each one works best.
What you will need
Don't Seal Ventilation Openings
Not every gap is a problem. Intentional ventilation - such as trickle vents built into window frames or air bricks at the base of walls - must remain unblocked to maintain healthy indoor air quality and prevent condensation build-up. Before sealing any opening, confirm it is a draught leak and not a designed vent. If in doubt, consult a qualified builder or energy assessor.
Step-by-Step: Finding and Fixing the Gaps
Follow these steps in order - detection before repair, surface preparation before application. Skipping the prep steps is the most common reason DIY draught-proofing delivers disappointing results.
Locate air leaks using a draught test
On a cold or windy day, light a candle or incense stick and hold it a few centimetres from the edges of each window and door frame - including the sill, jambs, and header. A flickering flame or bending smoke trail indicates air movement. Work methodically around every opening and mark each problem area with low-tack painter's tape so you don't lose track of findings.
Pay particular attention to corners, the junction between the frame and surrounding wall, and the gap at the bottom of exterior doors. These are the most common failure points.
Remove old, failed sealant and weatherstripping
Use a putty knife or utility knife to carefully cut away cracked, shrunken, or peeling caulk from around frames. For old weatherstripping, peel it back firmly - most adhesive-backed foam strips leave residue that must be cleaned off with rubbing alcohol or an adhesive remover before new material will bond correctly.
Allow surfaces to dry completely. Applying new sealant over damp or dusty substrates is the single most common reason draught-proofing fails prematurely.
Apply caulk to static frame-to-wall joints
Load your caulk gun with an appropriate caulk: use paintable acrylic latex for interior trim joints, and a high-quality exterior-grade caulk (often siliconised acrylic) for outside joints. Cut the nozzle at a 45-degree angle, creating an opening roughly the width of the gap you're filling.
Hold the gun at a consistent angle and draw a smooth, continuous bead along the joint. Tool the bead immediately with a wet fingertip or a caulk finishing tool to press it firmly into the gap and create a concave, well-adhered seal. Wipe excess with a damp cloth before it skins over.
Install weatherstripping on moving door and window edges
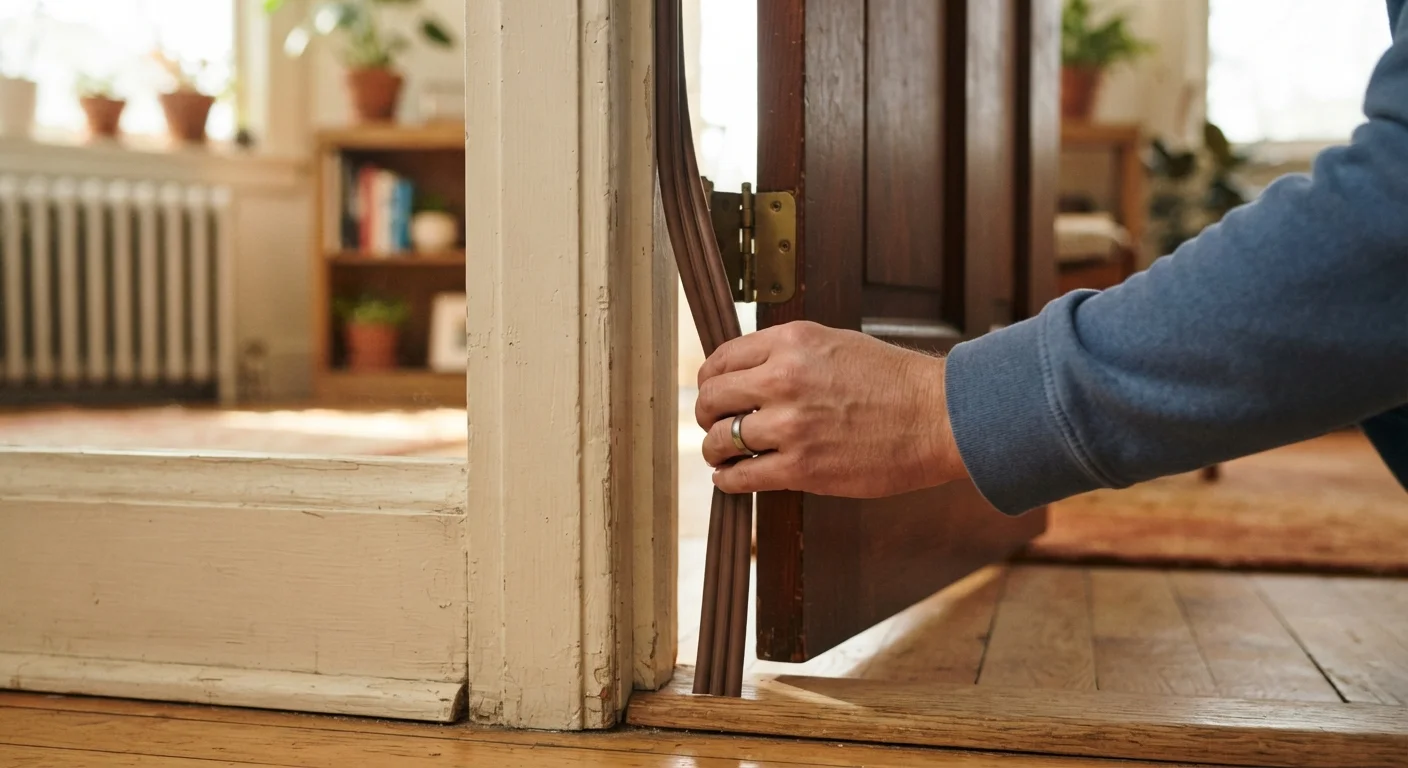
For hinged doors, self-adhesive foam or EPDM rubber weatherstripping is applied to the door stop - the narrow strip of trim the door closes against. Clean the stop thoroughly, peel the backing, and press the strip firmly into place, starting at one corner and working continuously to avoid gaps or bubbles.
For double-hung or sliding windows, V-strip (tension seal) weatherstripping is generally more durable than foam tape. Cut it to length, fold it into its V shape, and press or tack it into the channel where the sash slides. The open edge of the V should face the outside to deflect air.
Fit or replace the door sweep
Examine the gap under each exterior door. A gap of more than 3 mm typically warrants a door sweep or door shoe. Automatic door sweeps (which lift slightly when the door opens) are the most practical solution for doors over rugs or uneven thresholds. Standard brush sweeps suit smooth floor surfaces.
Measure the door width accurately. Most sweeps attach to the interior face of the door with screws - no specialist tools are needed. Adjust the sweep height so it makes light contact with the threshold when the door is closed without dragging heavily across the floor surface.
Re-inspect and verify the seals
Once all materials have cured according to manufacturer instructions - typically 24 hours for caulk - repeat your draught test on each sealed location. A fully sealed joint should show no flame or smoke movement. Check that doors and windows still operate smoothly and that weatherstripping compresses evenly along its full length without bunching or gaps at corners.
Test Seals Before Winter Arrives
Carry out your draught inspection on a cold, windy day - gaps are far easier to feel and locate under those conditions. Re-check your seals each autumn before heating season begins, since temperature cycling causes materials to expand and contract, which can open up new gaps over time.
Caulk and Painted Surfaces Don't Always Mix
Applying caulk over old, flaking paint can cause the new seal to fail within months. Strip loose paint from the surface and allow it to dry fully before caulking. Similarly, silicone caulk generally cannot be painted over - choose a paintable acrylic or latex caulk for surfaces you plan to repaint.
Maintaining Your Seals Over Time
Air sealing is not a one-and-done project. Inspect all exterior door and window seals annually, ideally in early autumn before cold weather sets in. Look for caulk that has shrunk away from one side of a joint, foam tape that has fully compressed and no longer springs back, and door sweeps that have worn unevenly. Catching these early means a quick repair rather than a full re-do.
If your home has a bathroom adjacent to an exterior wall, pay extra attention to window seals in that room - moisture and temperature swings accelerate sealant degradation there faster than in other rooms. Our guide on maintaining a healthy bathroom covers the full range of upkeep tasks that apply in that environment.
When a window or door frame is repeatedly failing - with gaps reappearing despite fresh caulk - this may indicate settlement movement, wood rot, or frame deterioration that sealing alone cannot fix. At that point, consult a qualified carpenter or window installer to assess whether repair or replacement is the more practical route.