
Why Bathrooms Are Especially Vulnerable to Moisture Damage
Bathrooms generate more concentrated moisture than almost any other room in a home. Hot showers and baths push warm, humid air against cooler walls and ceilings, where it condenses. Over time, that repeated cycle degrades grout, loosens tiles, peels paint, and - in serious cases - rots structural framing behind walls.
The three maintenance pillars that protect against this are ventilation, grout integrity, and waterproofing. Each addresses a different part of the moisture pathway: ventilation removes humid air before it can condense; grout maintenance seals the gaps between tiles; waterproofing prevents water from migrating into substrates and cavities. Neglecting any one of them increases the load on the others.
If you're already seeing surface mould or persistent dampness and aren't sure of the source, diagnosing whether it's condensation or a leak is a logical first step before committing to repairs.
When to Call a Professional
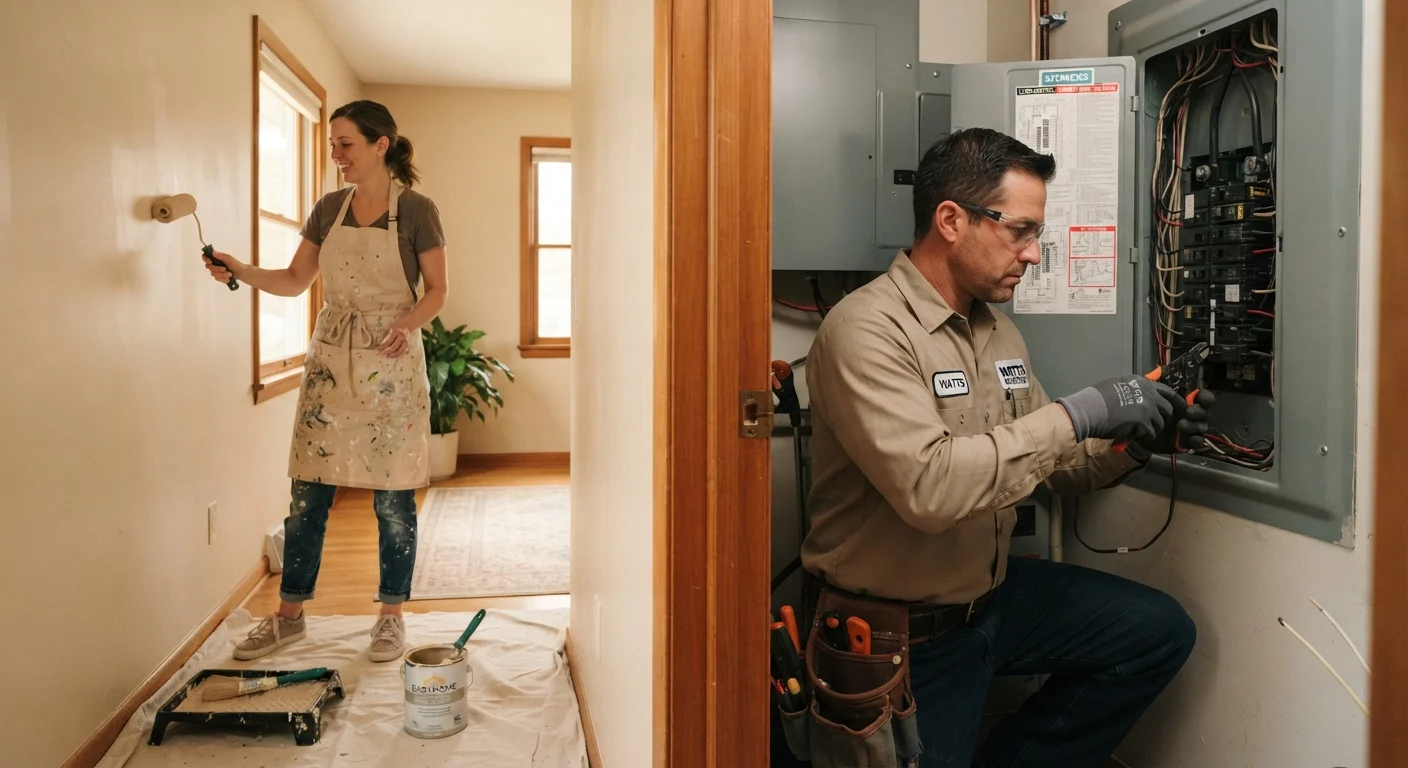
Surface cleaning, sealing, and caulk replacement are well within most homeowners' abilities. However, if tiles are shifting, walls feel soft behind tile, or you notice persistent musty odors despite clean surfaces, the waterproofing layer or substrate may be compromised. Repairs involving removal of tile, work inside wall cavities, or new waterproof membrane installation are typically best handled by a licensed tile setter or general contractor. Electrical work - including replacing fan switches or upgrading to a higher-capacity fan - should be done by a licensed electrician.
Ventilation: Your First Line of Defense
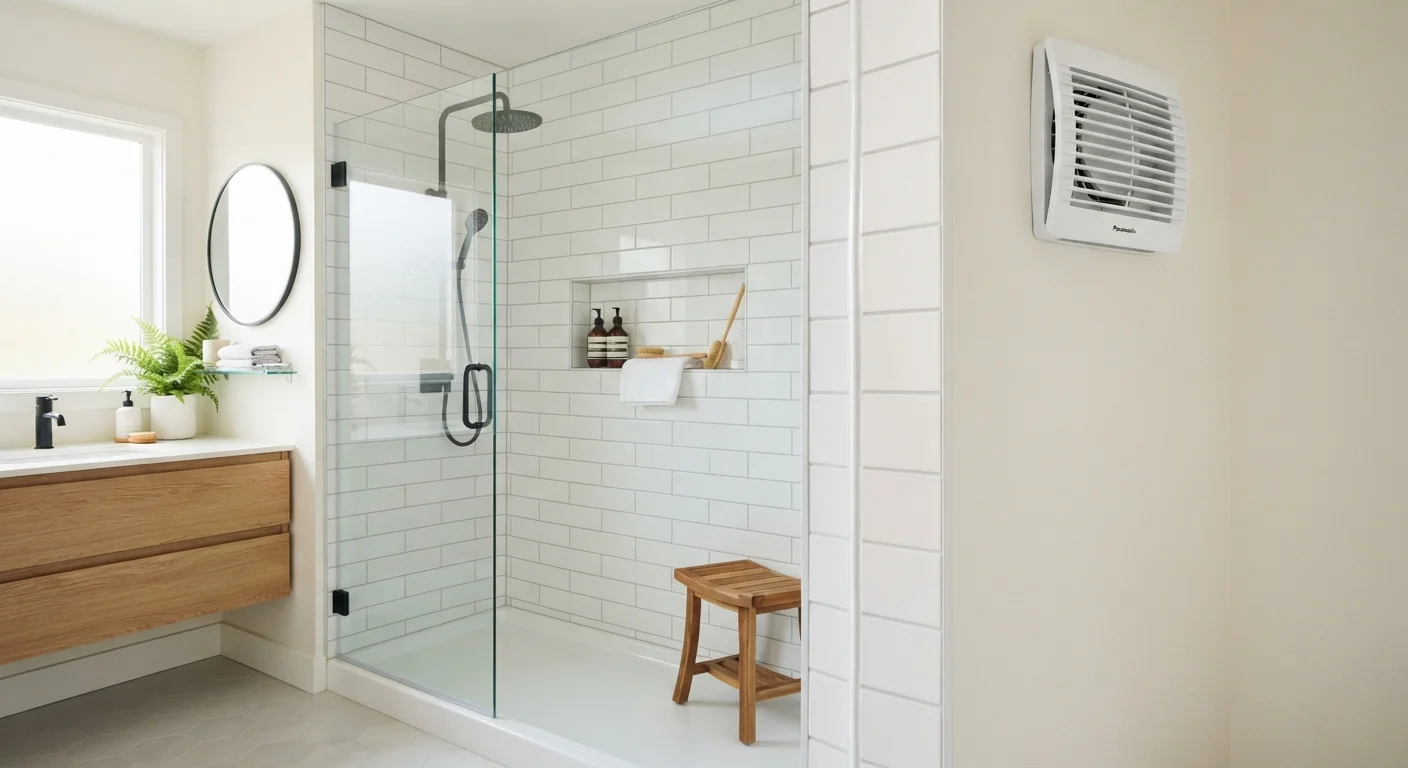
An exhaust fan that's properly sized and consistently used is the single most effective bathroom moisture control. The standard guideline from the Home Ventilating Institute is a minimum of one CFM (cubic feet per minute) of airflow per square foot of bathroom floor area - so a 60-square-foot bathroom needs at least a 60 CFM fan.
Fan usage matters as much as fan capacity. Run the exhaust fan during every shower or bath and keep it running for at least 20 minutes afterward. A simple timer switch - installed in place of the standard switch - makes this effortless and is a straightforward swap for a licensed electrician if you're not comfortable with electrical work.
Fans accumulate dust on their grilles and impeller blades, which significantly reduces airflow. Clean the grille every few months with a vacuum or damp cloth, and inspect the duct path to confirm it exhausts to the exterior - not into an attic or crawl space, which simply relocates the moisture problem. For a deeper look at what adequate extraction actually requires, see our guide to bathroom ventilation and long-term damage prevention.
Run your exhaust fan during every shower and for 20 minutes after.
Most condensation damage accumulates in the time after showering, when humid air is still present but the water source has stopped. Extending fan runtime clears residual moisture that would otherwise settle on walls and ceilings.
Inspect and reseal grout in wet areas every one to three years.
Grout sealer degrades with cleaning products, temperature cycling, and water exposure. An unsealed or degraded sealer lets water migrate into the tile substrate, leading to mould and eventual tile failure.
Replace cracked or shrinking caulk at tub and shower junctions promptly.
The joint between a tub and wall flexes slightly with use and temperature. Grout cracks here; caulk is designed to bridge that movement. Even a small gap allows water to penetrate behind tiles with each use.
Clean exhaust fan grilles and verify exterior duct termination annually.
Dust buildup on fan blades reduces airflow by a measurable amount, undermining extraction even when the fan is running. Ducts that terminate into attic spaces relocate moisture rather than removing it, creating new damage pathways.
Use cement board or appropriate wet-area backer in shower surrounds, not standard drywall.
Standard drywall, including moisture-resistant types, is not designed for the direct water exposure of a shower surround. When tiles or caulk eventually allow small amounts of water through, the substrate determines whether that moisture causes lasting damage.
Grout and Caulk: Sealing the Gaps That Let Water In
Grout is a porous material. Even when it looks intact, unsealed or aging grout absorbs water and harbors mildew below the surface. Inspect grout lines annually: look for cracks, crumbling areas, discoloration that doesn't clean off, or any section that sounds hollow when tapped lightly.
Penetrating grout sealer should be reapplied every one to three years in shower areas, depending on the product and traffic level. The process is straightforward: clean the grout thoroughly, allow it to dry completely (typically 24-48 hours), apply sealer per the manufacturer's directions, and wipe off the excess. Do not apply sealer over mould - treat the mould first.
Caulk serves a different function from grout. Where a tub or shower base meets a tiled wall, or where a wall meets the floor, there's always slight movement. Grout cracks at these junctions; caulk flexes. Check caulk lines for gaps, shrinkage, or discoloration every six months. When recaulking, fully remove the old material with a caulk remover tool before applying fresh product - layering new caulk over old creates a surface that peels quickly. Use a mold-resistant, 100% silicone or siliconized latex product rated for wet areas.
If persistent mould keeps returning despite cleaning and sealing, common misconceptions about damp and mould are worth reviewing - some widely-held beliefs about mould removal actually make the problem worse.
Waterproofing Behind the Surfaces
Tile and grout are not inherently waterproof - they're water-resistant surfaces that rely on a waterproof membrane or backer behind them to stop water from reaching wood framing or drywall. In a wet zone (the three feet of wall directly surrounding a shower or tub), that substrate matters enormously.
Standard drywall, even moisture-resistant varieties, degrades when it gets wet repeatedly. Cement board or foam shower board are common alternatives that don't absorb water. If tiles in a shower area feel soft underfoot, or if wall tiles shift or pop off without apparent cause, failed waterproofing behind the surface is a likely explanation - and a repair that typically warrants a licensed tile or renovation contractor.
Homeowners can take practical steps without demolition: keep grout sealed, replace caulk promptly, and avoid leaving wet bath mats against walls or tub surrounds for extended periods. Small leaks at supply valves or drain connections can also compromise the substrate from below. Understanding basic plumbing - including how to spot slow leaks and shut off water quickly - reduces the risk of undetected water damage spreading beneath surfaces.
For homeowners balancing multiple maintenance priorities, focusing limited maintenance budgets where damage risk is highest is a practical framework - and bathroom waterproofing typically ranks near the top of that list.
This article provides general home maintenance information for educational purposes only. For electrical, structural, or significant plumbing work, consult a licensed, qualified professional and verify local permit requirements before proceeding.