
How Your Home's Plumbing System Works
Residential plumbing consists of two distinct systems working in opposite directions. The supply system delivers pressurized fresh water from a municipal main or private well to every fixture in your home. The drain-waste-vent (DWV) system carries used water and waste out to the sewer or septic system, relying on gravity rather than pressure.
Supply lines branch off a main line and feed hot and cold water to sinks, toilets, showers, appliances, and outdoor spigots. Your water heater sits between the main supply and the hot-water distribution lines. The DWV system uses sloped drain pipes to move waste toward the sewer, while vent pipes - typically running through the roof - allow air into the system to prevent siphoning of the water seals (traps) that block sewer gases.
Supply system
The network of pressurized pipes that delivers fresh, clean water from the municipal main or well into your home and to each fixture.
Drain-waste-vent (DWV) system
The set of gravity-fed pipes that carry wastewater and sewage out of the home, plus vent pipes that allow air in to keep drains flowing freely.
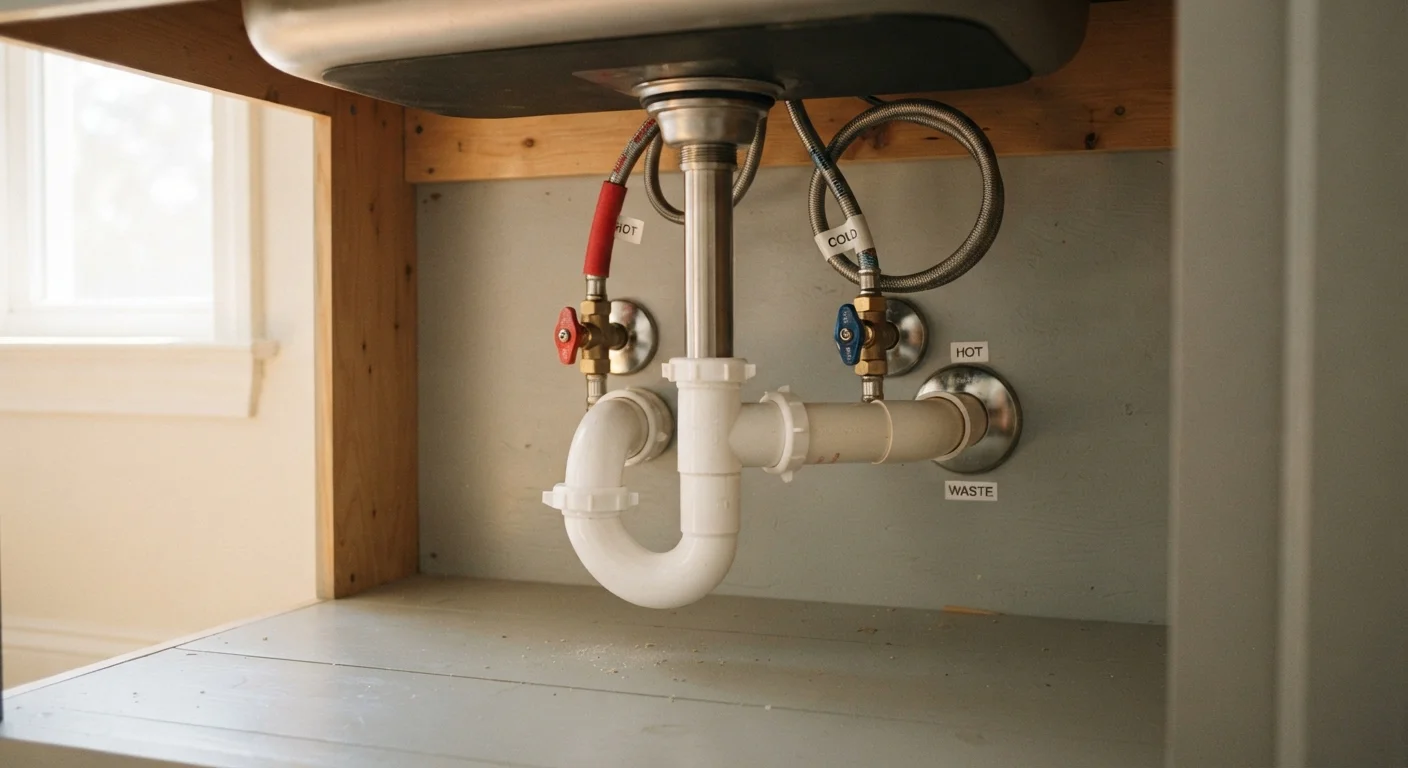
P-trap
The curved section of pipe beneath a sink drain that holds a small amount of water, creating a seal that blocks sewer gases from entering your living space.
Angle stop (fixture shut-off valve)
A small valve located directly beneath a sink or behind a toilet that lets you shut off water to just that fixture without affecting the rest of the house.
Water meter
A device installed by the utility at the point where water enters your property that measures total water consumption and can help detect hidden leaks.
Wax ring
A soft wax seal positioned between the base of a toilet and the floor drain flange, creating a watertight connection that prevents leaks at the toilet's base.
Understanding this two-system structure helps you make sense of any problem you encounter. A drain issue is almost never a supply issue, and vice versa - knowing which system is involved narrows your troubleshooting immediately.
Finding and Using Your Shut-Off Valves
The single most important thing a homeowner can know is where and how to stop the water. Two types of shut-off valves matter most.
- Main shut-off valve: Cuts water to the entire house. Typically found near where the supply line enters the foundation, in a basement, utility room, or crawl space. In warmer climates, it may be outside near the water meter. Turn clockwise to close on gate-style valves; quarter-turn for ball valves.
- Fixture shut-off valves (angle stops): Located under sinks and behind toilets, these isolate a single fixture. They let you stop water to one area while the rest of the house stays live.
Make a Plumbing Map for Your Home
Take 20 minutes to walk through your home and photograph every shut-off valve, the water heater location, and the main shut-off. Store those photos in a labeled album on your phone. When a pipe starts spraying at 11 PM, you won't be guessing - you'll know exactly where to go.
Exercise your shut-off valves once a year by turning them off and back on. Valves that are never operated can seize, failing you precisely when you need them most. If a valve won't turn or leaks from its stem, have a plumber replace it - this is a low-cost repair that prevents high-cost emergencies.
Spotting Leaks Before They Become Disasters
Most water damage in homes is not caused by dramatic burst pipes - it's caused by slow, undetected leaks that go unnoticed for months. Catching them early is primarily a matter of knowing where to look.
Where to inspect regularly
- Under every sink cabinet - look for water stains, warped cabinet floors, or mineral deposits on supply lines
- Around the base of toilets - soft flooring or discoloration suggests a failing wax ring seal
- Near the water heater - look for rust staining, pooling water, or corrosion on inlet and outlet connections
- Ceiling or wall patches below bathrooms - any soft spots, bubbling paint, or brown rings indicate moisture intrusion
A reliable DIY leak check: record your water meter reading, avoid all water use for two hours, then re-read the meter. Any change in the reading confirms an active leak somewhere in the system. For bathroom-specific concerns, our guide on bathroom maintenance covers moisture protection in detail.
Don't Ignore a Musty Smell Near Walls or Floors
A persistent musty or earthy odor near a wall, floor, or ceiling is a common indicator of hidden moisture - often from a slow leak inside the structure. Left unaddressed, this can lead to mold growth and significant structural deterioration. Investigate the source promptly, and consult a professional if you cannot identify it visually.
Drains, Clogs, and What You Can Safely Clear Yourself
A slow or blocked drain is one of the most common plumbing complaints. In most cases, the blockage is local - hair and soap in a bathroom drain, grease buildup in a kitchen drain - and can be addressed without professional help.
Safe DIY methods
- Plunger: The most effective first tool for sink and toilet clogs. Use a cup plunger for sinks; a flange plunger for toilets. Create a firm seal and use steady, rhythmic pressure rather than frantic force.
- Drain snake (hand auger): A flexible cable that physically breaks up or retrieves blockages. More effective than chemicals for hair or debris clogs and safe for most pipe types.
- Boiling water or very hot tap water: Effective for fresh grease clogs in metal drain pipes. Do not pour boiling water into PVC drain lines, as extreme heat can soften joints.
Avoid relying on chemical drain cleaners routinely. They are corrosive, can degrade pipes over time, and present safety risks if they splash. If a drain is repeatedly blocking in the same location, that pattern suggests a deeper issue - partial blockage further down the line, improper pipe slope, or a venting problem - that warrants professional diagnosis. For a broader view of which home tasks belong in the DIY category, see our guide to DIY vs. licensed tradespeople.
When to Call a Licensed Plumber
Knowing your limits is part of responsible homeownership - not a sign of inexperience. Several plumbing situations should always involve a licensed professional.
- Any work on the main supply line entering your home, or work at the meter
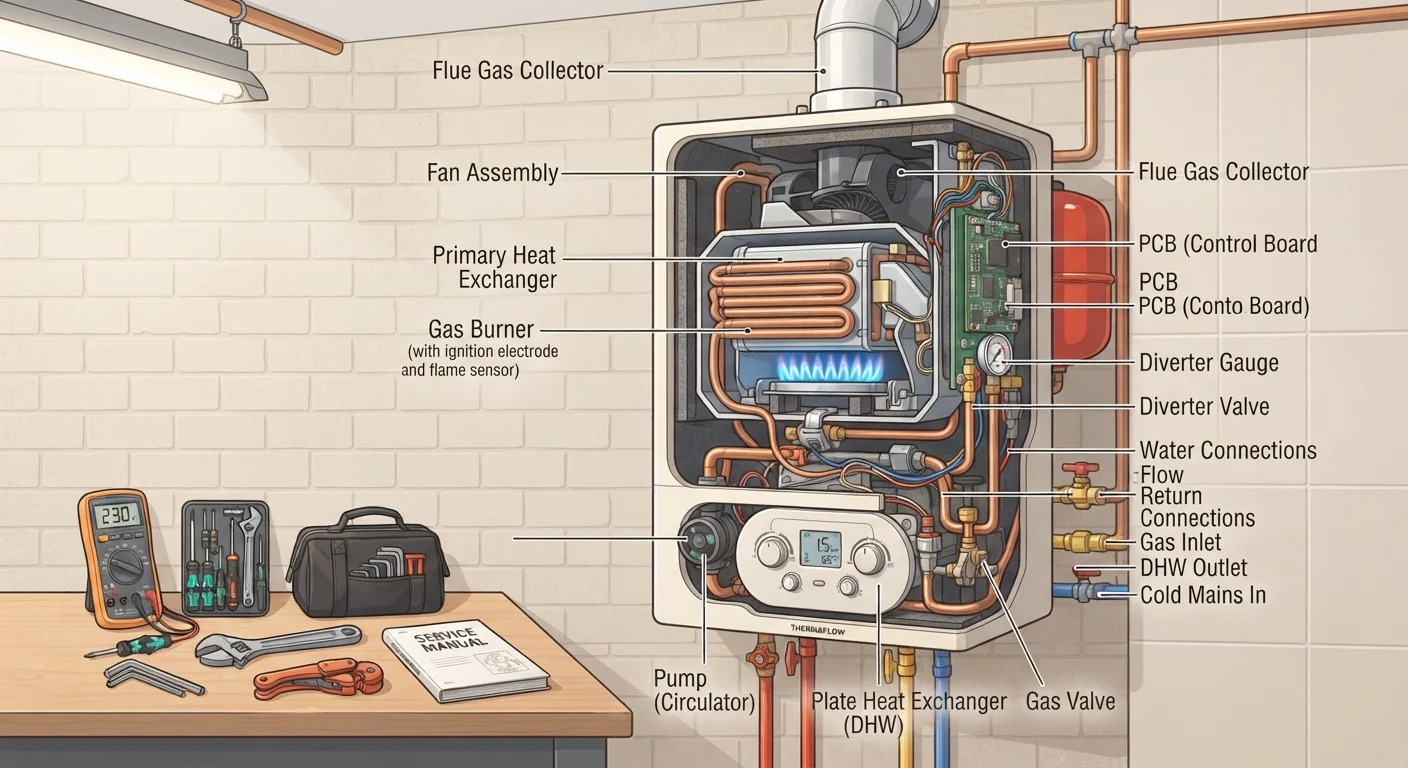
- Water heater installation or replacement - involves electrical or gas connections, pressure relief valves, and in most jurisdictions, a permit
- New pipe runs or re-piping - structural, permitted work requiring inspections
- Sewer line issues - root intrusion, collapsed sections, or persistent multi-drain backups indicate a main line problem
- Visible mold or ongoing water damage - the source needs professional identification before remediation
Working without required permits can affect your home insurance coverage and create complications when you sell. Always verify local permit requirements with your municipality before any significant plumbing project. If budget is a consideration, our resource on home maintenance prioritization can help you sequence repairs effectively. And if you're new to homeownership overall, this guide to first-home renovations offers a grounded starting point for understanding scope and risk.
This article provides general home maintenance information for educational purposes. It is not a substitute for advice from a licensed plumbing professional. Always verify local building codes and permit requirements before undertaking any plumbing work.