

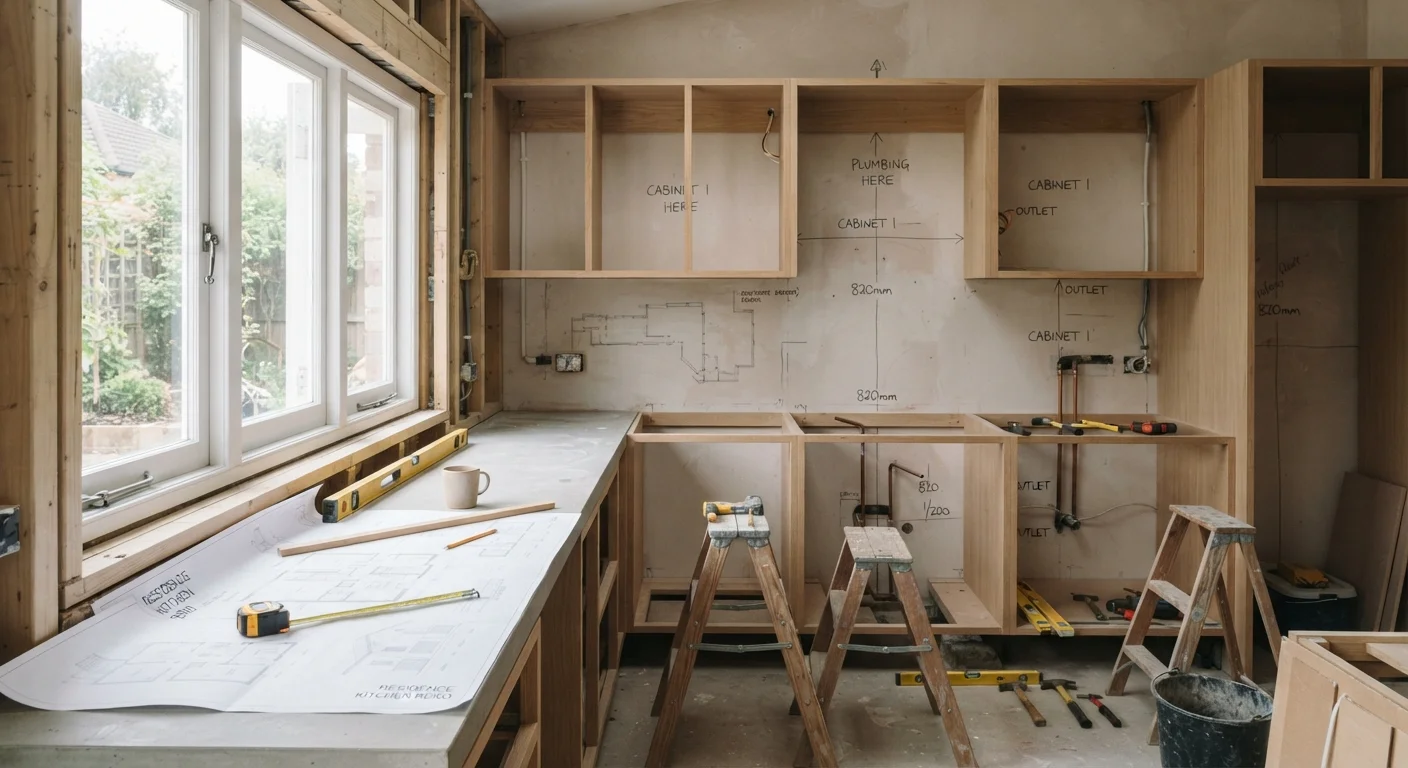
Why Kitchen Renovations Demand a Framework
Kitchens are the most mechanically complex room in a home - plumbing, electrical, gas, ventilation, and structural loads often converge in a single 150-square-foot space. Decisions made early, such as where the sink sits or whether a wall comes down, physically determine what is possible later. Reversing those decisions mid-project is where budgets collapse.
A decision framework doesn't constrain creativity - it sequences it. By working through layout, then systems, then storage, then finishes, you avoid the most common and costly mistake in kitchen renovation: choosing materials before understanding the constraints those materials must work within.
This guide is intended as general educational information. Costs, timelines, code requirements, and structural realities vary significantly by home, region, and scope. Always verify local requirements and consult qualified professionals before beginning any significant renovation work.
~$27,000
Median US kitchen renovation cost
According to the National Association of the Remodeling Industry (NARI), median spend on a full kitchen remodel varies widely by scope and region.
42"
Minimum recommended aisle clearance
The National Kitchen and Bath Association (NKBA) guidelines recommend at least 42 inches of clearance in single-cook kitchens, 48 inches where two cooks work.
~30%
Renovations requiring permit corrections
Industry estimates suggest a significant share of renovation inspections require corrections, most commonly in electrical and plumbing rough-in stages.
Step 1 - Audit Your Existing Kitchen Before Touching Anything
Before drawing a single cabinet layout, spend two to four weeks documenting how you actually use your kitchen. Note where traffic jams occur, which drawers go unopened, where prep surfaces run out, and whether natural light reaches the work zones you rely on most.
Photograph the space at different times of day. Measure ceiling height, window placement, door swing clearances, and the precise location of existing plumbing drain lines and electrical panels. These fixed points are the true boundaries of your project - not the perimeter walls.
This audit pairs naturally with a broader home organization review. Our room-by-room decluttering walkthrough can help you surface which kitchen items you actually use before you design storage around objects you should discard.
Before finalizing your layout, cook three full meals in your current kitchen while someone photographs your movement patterns. The footage consistently reveals pain points that floor-plan review alone misses.
Renovation decisions grounded in observed behavior rather than assumed behavior produce kitchens that function well for the specific household, not for a hypothetical average user.
Order cabinet samples and set them against your actual walls under your actual lighting conditions - not showroom lighting - before committing to a finish.
Undertones in painted cabinetry shift dramatically under different light temperatures; what reads as a warm white in a showroom can appear yellow or grey in a north-facing kitchen.
Step 2 - Layout and Workflow Decisions
Kitchen layout planning typically centers on the work triangle - the functional relationship between sink, refrigerator, and primary cooking surface. The principle holds that shorter, unobstructed paths between these three points reduce effort and improve safety during meal preparation.
Common residential layouts include galley (two parallel runs), L-shape, U-shape, and single-wall configurations. Each has real trade-offs in storage capacity, traffic flow, and natural light access. If you are considering removing a wall to create an open-plan kitchen, weigh those trade-offs carefully - our guide to open-plan living trade-offs covers the acoustic, thermal, and lifestyle implications that are rarely discussed upfront.
Island placement deserves specific attention. A fixed island requires at minimum 42 inches of clearance on working sides (48 inches is preferable where multiple people cook). Islands also introduce new plumbing and electrical runs if they include a sink or outlets - costs that should be scoped before the island appears on the drawing.
Load-Bearing Walls Cannot Be Removed Without Engineering Review
If your layout change involves removing or modifying a wall, a structural engineer or licensed contractor must confirm whether the wall is load-bearing before any demolition begins. Removing a load-bearing wall without proper support can cause serious structural damage. This work requires permits in virtually all jurisdictions.
Step 3 - Mechanical Systems: Plumbing, Electrical, and Ventilation
Mechanical decisions must be locked in before cabinetry is ordered. Cabinet runs are manufactured to exact dimensions; repositioning a drain line or adding a dedicated circuit after cabinets are installed is significantly more disruptive and expensive than doing it during the framing phase.
Ventilation is the most consistently underplanned system in kitchen renovations. Range hood performance is rated in CFM (cubic feet per minute). Ducted hoods - those vented to the exterior - require a duct path through cabinetry, walls, or ceiling. Where that duct runs, its diameter, and its termination point all affect hood effectiveness and must be coordinated with cabinetry layout before installation begins.
Electrical planning should account for GFCI (ground-fault circuit interrupter) requirements near water sources, dedicated circuits for high-draw appliances, and adequate outlet spacing along counter runs - all of which are governed by the National Electrical Code (NEC) and local amendments. A licensed electrician should review your plans before rough-in begins.
Gas Line Work Requires a Licensed Professional
Any modification to gas supply lines - relocating a range, adding a gas cooktop where none existed, or capping a line - must be performed by a licensed gas fitter or plumber authorized to work on gas systems in your jurisdiction. This is not a DIY task under any circumstances. Improper gas connections are a fire and carbon monoxide hazard.
Step 4 - Storage Architecture Before Aesthetic Choices
Storage design is the area where kitchen renovations most frequently disappoint. The problem is almost always sequencing: homeowners select cabinet door styles before deciding what those cabinets will actually hold and how it will be accessed.
Map your storage needs by category - daily cookware, occasional appliances, dry goods, cleaning supplies, recycling - and assign each category to a zone based on proximity to where it's used. Pots and pans belong near the range, not across the kitchen. Daily dishes belong near the dishwasher unload path, not above the refrigerator.
Interior fittings (pull-out shelves, drawer organizers, vertical dividers) dramatically improve the usability of standard cabinet boxes at a fraction of the cost of custom cabinetry. These decisions belong in the design phase, not as an afterthought once cabinets are installed. For a broader look at organizing your home systematically after a renovation, see our comprehensive home organization framework.
Design Storage for Your Real Habits, Not Ideal Ones
Audit what's actually in your current kitchen before designing new storage. If a category of item has been stored inconveniently for years without causing problems, you probably use it rarely enough that prime storage space should go elsewhere. Assign your best real estate - eye-level, near the range - to what you reach for daily.
Step 5 - Permits, Codes, and When to Call a Professional
In most US jurisdictions, kitchen renovations involving structural changes, electrical panel or circuit work, plumbing drain or supply line relocation, or gas line modification require building permits and inspections. Work completed without required permits can complicate home sales, void insurance claims, and create safety hazards.
Verify requirements with your local building department before beginning design. Requirements vary by municipality; what requires a permit in one city may not in another, and vice versa.
For first-time renovators, the guide to first-home renovations offers honest framing on which tasks are genuinely DIY-appropriate and which carry risks that warrant professional involvement. As a general principle: cosmetic work (painting, hardware replacement, backsplash tile on existing substrate) is low-risk; anything touching structure, gas, electrical panels, or drain lines is not.
This article provides general educational information about kitchen renovation planning. It is not a substitute for advice from licensed contractors, engineers, or local building authorities. Requirements, costs, and safety considerations vary by location and project scope. Always consult qualified professionals and verify local code requirements before beginning renovation work.
Putting the Framework Together
A well-sequenced kitchen renovation follows this order: audit existing conditions → lock in layout → finalize mechanical runs → design storage architecture → select finishes. Each stage depends on the decisions made before it. Jumping ahead - choosing countertop material before the layout is fixed, for example - creates decisions that may need to be expensively reversed.
Document each decision in writing, including the rationale and any professional advice received. This record is valuable if contractors change, if disputes arise, or if you need to demonstrate code-compliant work during a future sale.
After your renovation, a whole-home organization audit can help you reset the rest of the house around your updated kitchen - particularly useful when a new layout changes traffic patterns or shared storage zones.
“The most common mistake in kitchen design is treating it as an interior design project rather than a systems integration project. The finishes are the last five percent of the decision-making - everything that matters comes before that.”
— National Kitchen and Bath Association, Industry guidance on kitchen planning methodology