
Why Starting From Scratch Actually Works
Incremental tidying - shuffling clutter from one room to another - rarely produces lasting order. A whole-home framework works differently: it treats organization as a deliberate design problem rather than a recurring chore. By resetting the entire system at once, you eliminate the contradictions that build up over time, such as tools stored far from where they are used, or categories split across multiple rooms without logic.
This guide walks through a five-phase process - audit, sort, design, implement, and sustain - applicable whether you are moving into a new home, recovering from a renovation, or simply starting over. Before diving in, familiarize yourself with the vocabulary: terms like prime real estate (the most accessible storage locations), dead zones (awkward, rarely accessed spaces), and FIFO (first in, first out stock rotation) will come up throughout. Our complete reference guide to home organization terminology covers these and more.
25%
of home square footage used for storage
Research from professional organizing associations suggests roughly a quarter of usable home space is allocated to storing items, many of which are rarely accessed.
80%
of clutter is result of disorganized systems
Organizational researchers consistently find that the majority of household clutter stems from absent or poorly maintained systems rather than an excess of possessions.
55 min
average time lost weekly searching for items
Surveys of US households indicate adults lose nearly an hour per week locating misplaced belongings - time directly recoverable through effective organization.
Phase 1: Audit and Assess Every Space
Before touching a single item, walk through every room with a notebook or phone and document what you observe. Note where clutter accumulates, which storage areas are overloaded, and which spaces consistently feel dysfunctional. This is not a cleaning exercise - it is a diagnostic one.
Ask three questions in each space: What is actually stored here? What should be stored here based on how the room is used? What is the available storage capacity? Gaps between these answers reveal your real problem areas. Our whole-home organization audit offers a structured room-by-room checklist that is especially useful at this stage.
Do Not Skip the Audit Phase
Moving directly to sorting or purchasing storage products without first documenting what you have and how your spaces are used is the single most common reason home organization projects fail within weeks. The audit phase is not optional - it is the data that every subsequent decision depends on. Even if it takes only a few hours, completing it before touching anything else will save significant time and money downstream.
Phase 2: Sort, Purge, and Decide
Remove everything from one category or zone at a time - not one drawer, but all kitchen utensils at once, or all bedding from every closet. Seeing the full quantity of any category is consistently the most clarifying moment in the process. Most households discover significant duplication and items kept well past their useful life.
For each item, make one of four decisions: keep, donate, discard, or relocate. Apply a simple threshold: if the item has not been used in 12 months and holds no genuine sentimental value, removing it is almost always the right call. Be especially rigorous with items stored in prime real estate - those locations should be reserved for what you use most often.
Sort by category across the entire home, not room by room. Pulling all books - or all tools - together at once reveals true quantity and prevents you from making keep-or-go decisions in isolation.
Category-wide sorting is the method behind most professional organizing frameworks because it eliminates the blind spot created when similar items are scattered across multiple locations.
When in doubt about an item, place it in a 90-day box with a date written on it. If you have not retrieved it by the deadline, remove it without reopening.
This technique removes the emotional pressure of an immediate decision while still producing a clear outcome, reducing the paralysis that stalls many organization projects.
Measure your actual storage spaces before purchasing any containers - width, depth, and height - and bring those measurements when shopping. Containers that do not fit precisely waste more space than no container at all.
Ill-fitting containers are one of the most common and costly organization mistakes, often discovered only after products are brought home and unpacked.
Avoid the common mistake of buying storage containers before this phase is complete. Container purchases made before purging are frequently wasted, because the quantity of items you will keep is almost always smaller than it appears at the start.
Phase 3: Design Your Storage System
With a clear picture of what you are keeping, you can now assign every item a logical home. The core principle is proximity to use: items should be stored as close as possible to the location where they are regularly used. Everyday coffee mugs belong near the coffee maker, not in a remote cabinet.
Layer this with frequency of access: daily-use items occupy prime real estate at eye and hand level; seasonal or rarely needed items move to dead zones - high shelves, deep under-bed storage, or back-of-closet space.
“A place for everything, and everything in its place - the principle sounds simple, but the work is in defining what 'its place' actually means for how your household operates, not how a generic system assumes it should.”
— Julie Morgenstern, Professional organizer and author of 'Organizing from the Inside Out'
Group items into logical categories rather than by their physical form. Batteries, a tape measure, and spare lightbulbs may look different but belong together in a household essentials kit because they serve the same purpose: quick household fixes. This categorical thinking reduces the time spent searching and simplifies restocking.
If a major space like the kitchen is part of your redesign, the principles that apply to a kitchen renovation decision framework - workflow zones, storage hierarchy, and access frequency - translate directly to an organization redesign even without structural changes.
Phase 4: Implement and Label
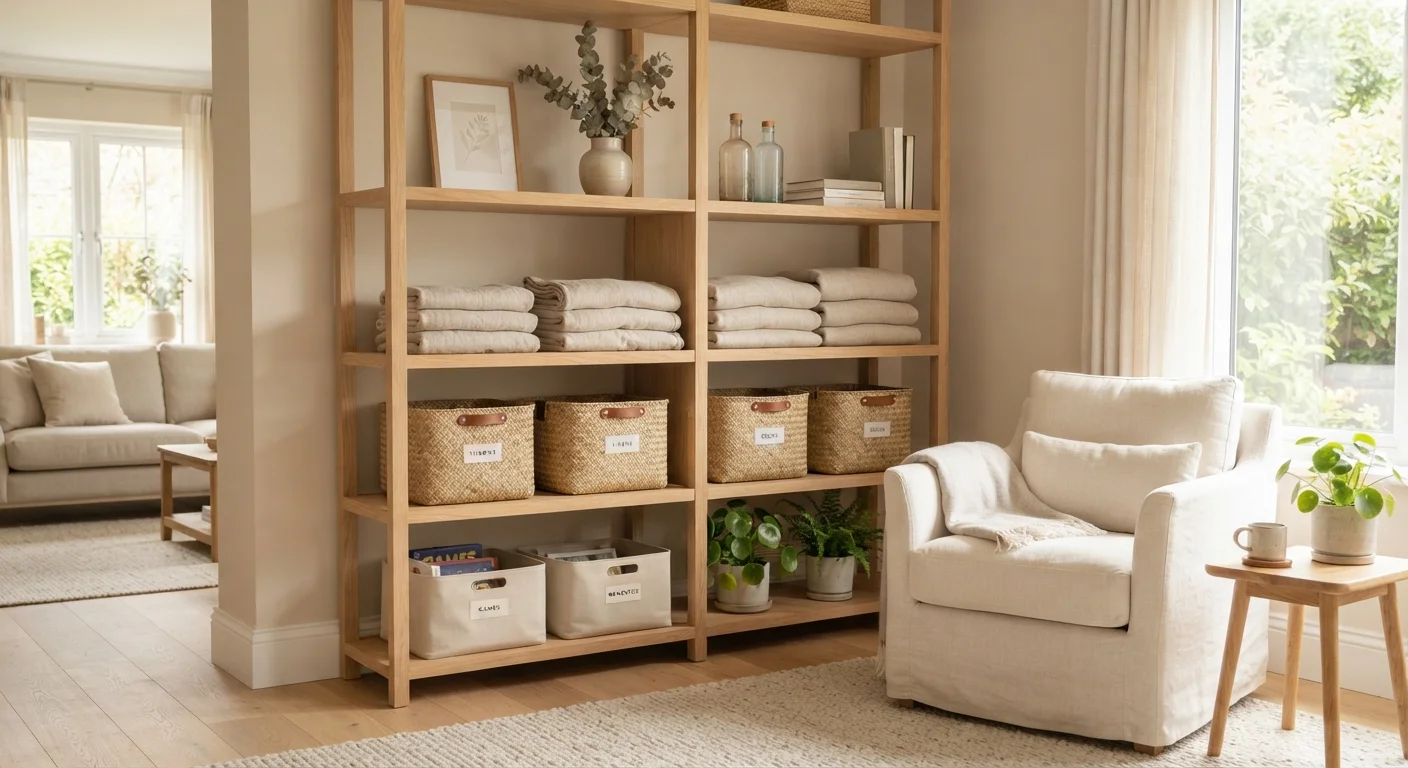
Now place items in their assigned homes. Work one category or zone at a time to avoid creating transitional disorder across the entire house. Where containers or drawer dividers are needed, choose sizes that match the volume of items you actually have - not the maximum that might fit in future.
Label everything that is not immediately self-evident. Labels are not just for aesthetics; they communicate the system to every person in the home and make restocking accurate and automatic. Use clear, plain-language labels rather than decorative abbreviations that may confuse other household members.
Reference Photos Speed Up Future Resets
After completing each organized zone, take a photograph and store it in a dedicated phone album or shared household folder. When a space drifts over time - and most will - a reference photo lets any household member restore it to the designed state without guesswork. This is especially helpful in shared kitchens and pantries where multiple people restock items.
Photograph your completed zones before returning items to regular use. These reference photos are invaluable when the system drifts over time and you need to reset a specific area without redoing the full process.
Phase 5: Build Habits That Stick
A well-designed system will still deteriorate without consistent maintenance habits. The most effective maintenance approach is the daily reset: a brief, 10-15 minute routine - often at the end of the evening - during which items are returned to their assigned homes. This prevents the accumulation that makes reorganization feel overwhelming.
Schedule a quarterly review of each zone. Households change - new purchases arrive, life stages shift, and seasonal needs rotate. A quarterly check lets you adjust the system before problems compound. Pair this with a read of common home organization myths to avoid drifting back toward approaches that look organized but create friction in practice.
Organizing a Shared Home
When more than one person occupies a home, organization becomes a negotiation as much as a design exercise. A system that works perfectly for one person's habits will fail if another person cannot intuitively understand or sustain it. Involve all household members in at least the audit and design phases - people are far more likely to maintain a system they helped create.
Establish explicit shared agreements: where mail lands, how common surfaces are cleared, and how often shared spaces are reset. Ambiguity is where shared-home organization most frequently breaks down. Our guide to organizing a home with multiple people addresses the full range of strategies for households with different habits and schedules.
The home improvement hub offers further guidance if your organization project intersects with physical upgrades - added shelving, built-in storage, or room repurposing are natural complements to a whole-home reset.